Laser cutting acrylic with Rhino
- Shelby McAuliffe

- Jan 29, 2019
- 2 min read
This project began with selecting one of my photographs taken from my trip to Baja California Mexico in Valle de los Gigantes and uploading this image to the Rhino6 program.


I created multiple layers, one with the image locked in place and three other layers with separate colors to isolate out the vectors made for the cactus, sky and the ground.
I began by using the Curve tool to trace the cactus.

Once I finished tracing the cactus I used the Polyline tool to create angular shapes to form the sky. The third layer became the ground. I used the Curve tool to generate smooth waves along the horizon line. I copied the line as a selected group to keep the spacing even. I brought these lines down to the bottom of the image and used the split tool to cut the wave by the border of the image and the intersections over the cactus.

Recently my work has been exploring the use of colored acrylic as an art medium. This project execution has been in thought for a few months, and this is the first rendition of such a project.
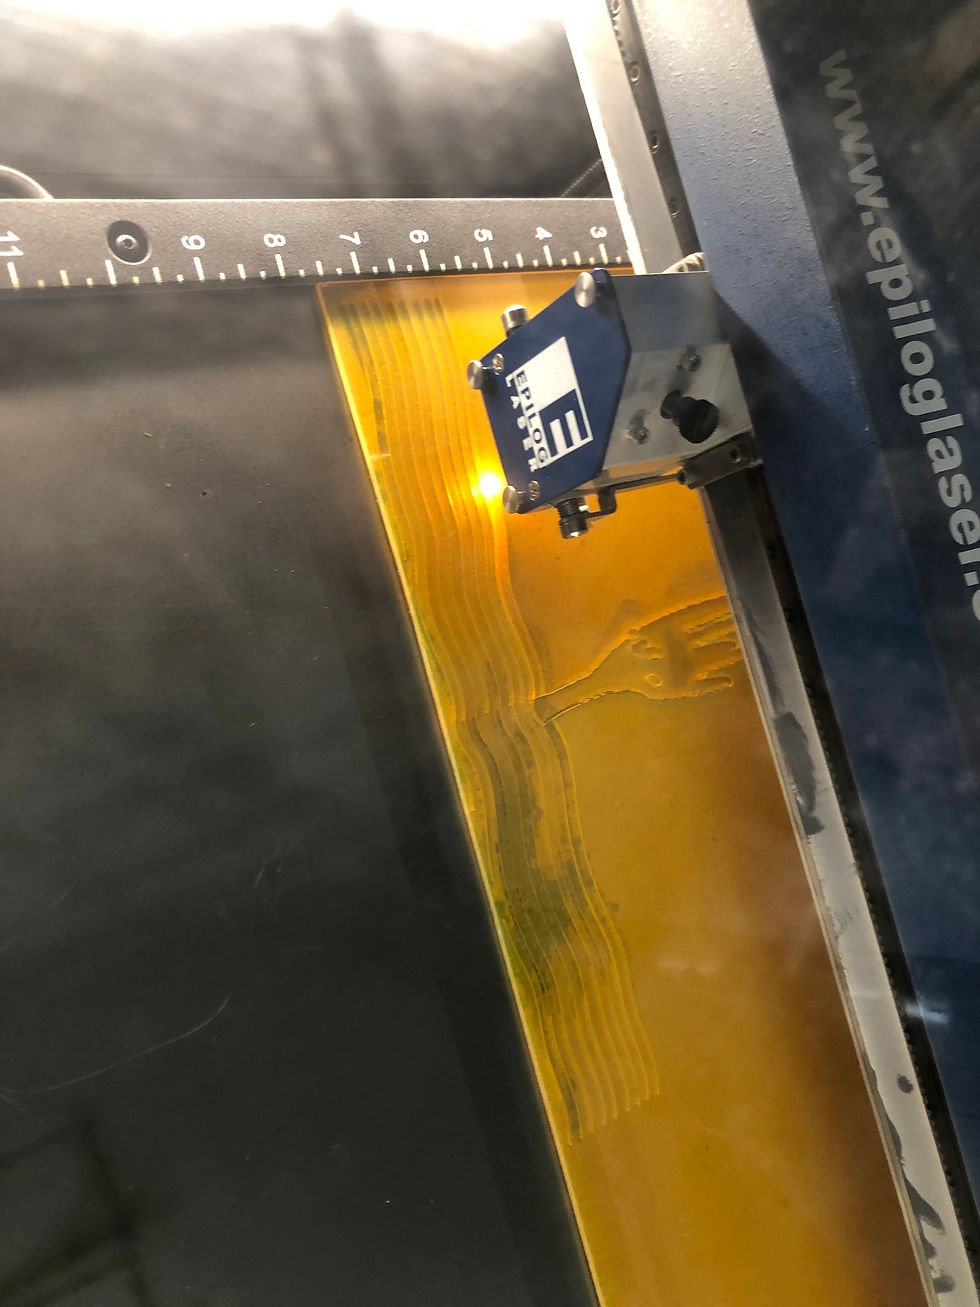
With the help of one of my colleague, Sarah McCormick, we decided to use a scrap piece of steel to put the acrylic onto. This would allow for every piece to stay on top of the laser bed without falling through the holes.
I began cutting an orange piece of cast acrylic and then cut the same design on a panel of green cast acrylic. I peel off one side of the paper covering, and cut the acrylic side up. I leave the other side of the paper cover on the laser bed to allow for the least amount of residue on the acrylic.


Once both colors had been cut, I had to transfer each piece from the metal sheet onto a board to transport to my studio. Using vinyl adhesive I was able to grab each acrylic piece without losing their placement. (Thank you again for Sarah's help in figuring out the best way to handle the acrylic pieces)
I had to peel the paper backing off of each acrylic piece and as I began peeling I would swap out varying pieces between the green and orange cut acrylic images.


After I completed changing out randomly selected pieces of acrylic I cut a clear acrylic frame to hold the pieces together.

Each piece of acrylic was cleaned with alcohol to remove any finger prints and placed within the clear frame.


Critique in class


header.all-comments